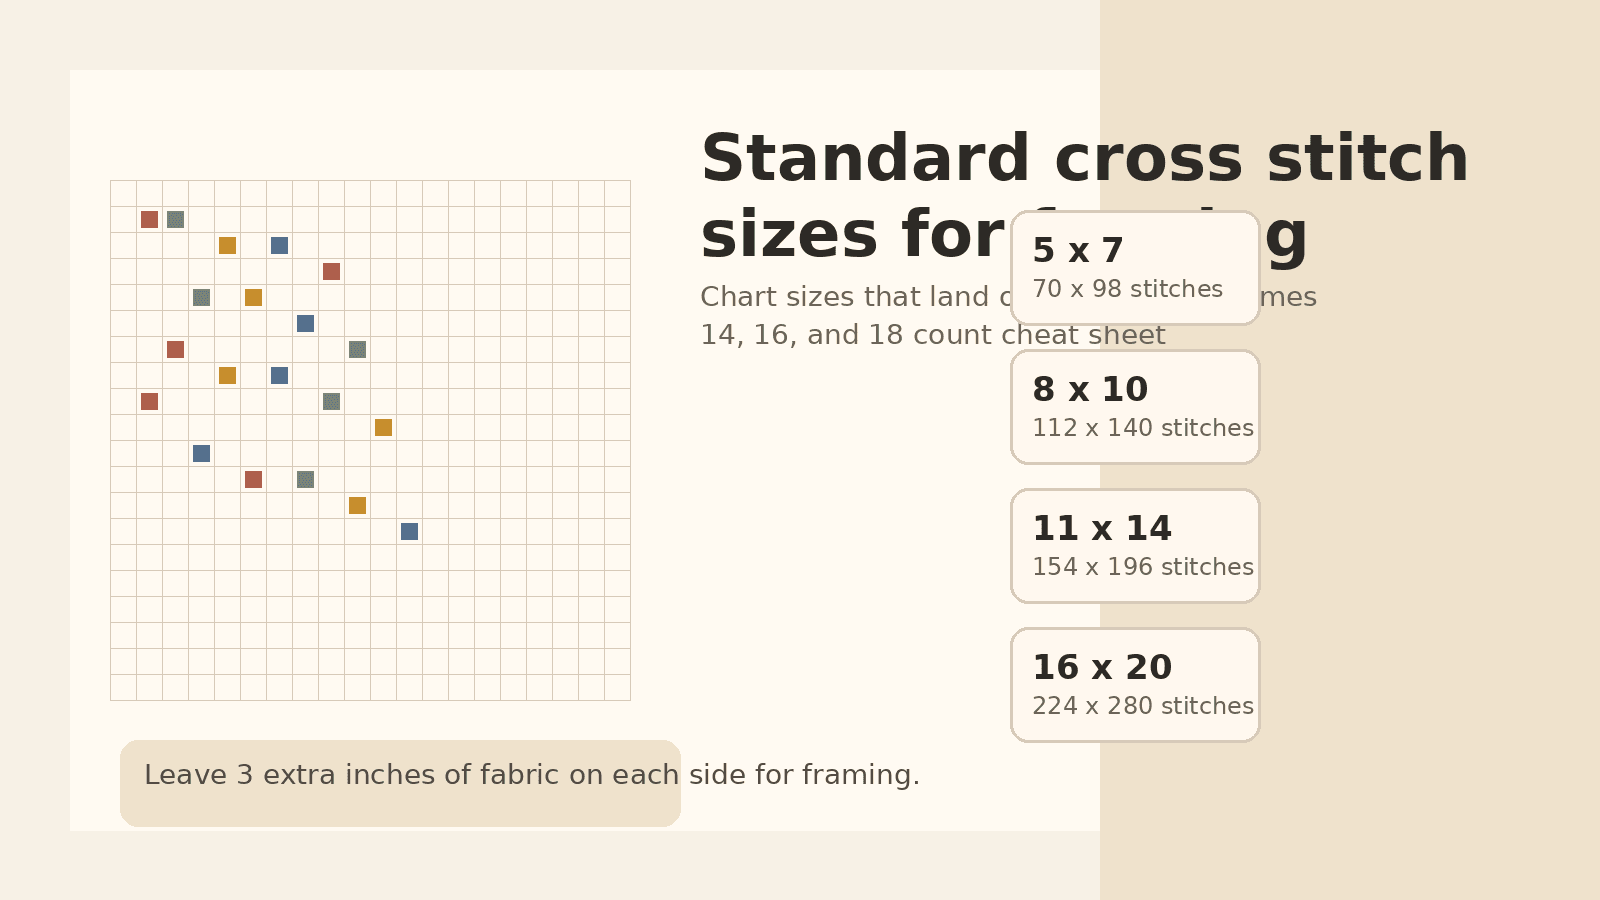
If you want easy framing, plan your stitched area around standard frame openings before you start. In practice, that usually means 5 x 7, 8 x 10, 11 x 14, or 16 x 20 inches. On 14-count Aida, those common sizes translate to 70 x 98, 112 x 140, 154 x 196, and 224 x 280 stitches.
Then buy fabric that is bigger than the stitched area, not fabric that barely matches it. If you do the math first, you can use ready-made frames and standard mats instead of finishing a piece at some awkward size and paying for custom framing later.
What size should a cross stitch be for a standard frame?
Frame Destination's guide to common print sizes runs through the sizes U.S. framers use over and over: 5 x 7, 8 x 10, 11 x 14, 16 x 20, and 20 x 24. That is the system you want to design around.
Here is the cheat sheet if you want your stitched area to match the frame opening exactly:
| Frame opening | 14-count chart size | 16-count chart size | 18-count chart size |
|---|---|---|---|
| 5 x 7 in | 70 x 98 stitches | 80 x 112 stitches | 90 x 126 stitches |
| 8 x 10 in | 112 x 140 stitches | 128 x 160 stitches | 144 x 180 stitches |
| 11 x 14 in | 154 x 196 stitches | 176 x 224 stitches | 198 x 252 stitches |
| 16 x 20 in | 224 x 280 stitches | 256 x 320 stitches | 288 x 360 stitches |
That works fine for some pieces, especially small finishes. But if I know a piece is going behind glass, I usually go one standard size up and use a mat or spacers. It looks better and it keeps the stitches from feeling crammed.
What size frame should you use with a mat?
This is where a lot of stitchers get tripped up. The frame size is not the stitched size when you use a mat. Frame Destination's standard pairings are one step up:
| Stitched area | Common frame size with mat |
|---|---|
| 5 x 7 in | 8 x 10 in |
| 8 x 10 in | 11 x 14 in |
| 11 x 14 in | 16 x 20 in |
| 16 x 20 in | 20 x 24 in |
That one-step-up rule is a good default because cross stitch is thicker than a photo print. A mat or spacer creates breathing room and keeps the stitches from pressing against the glass.
If your design finishes at 7.8 x 11.3 inches, you are outside the standard ladder. At that point you have three choices:
- crop it tighter with a custom mat opening
- live with extra blank fabric showing
- order a custom frame
Most people do not want that decision at the end of the project. They want to pick up a frame at Michaels, on Etsy, or from a thrift store and be done. Fair enough. Design to the standard sizes above and you can.
How do you calculate finished cross stitch size?
DMC's Aida guide keeps the math simple: fabric count means stitches per inch. Their page also notes that 14-count is the most popular Aida in their range, while higher counts make smaller stitches and a finer finish.
The formula is:
- width in inches = stitch width / fabric count
- height in inches = stitch height / fabric count
Say your chart is 140 x 182 stitches:
- on 14-count Aida, it finishes at 10 x 13 inches
- on 16-count Aida, it finishes at 8.75 x 11.38 inches
- on 18-count Aida, it finishes at 7.78 x 10.11 inches
That is why framing decisions belong at the start of the project, not the end. The same chart can land neatly in an 8 x 10 frame on one fabric and miss every stock frame in the store on another.
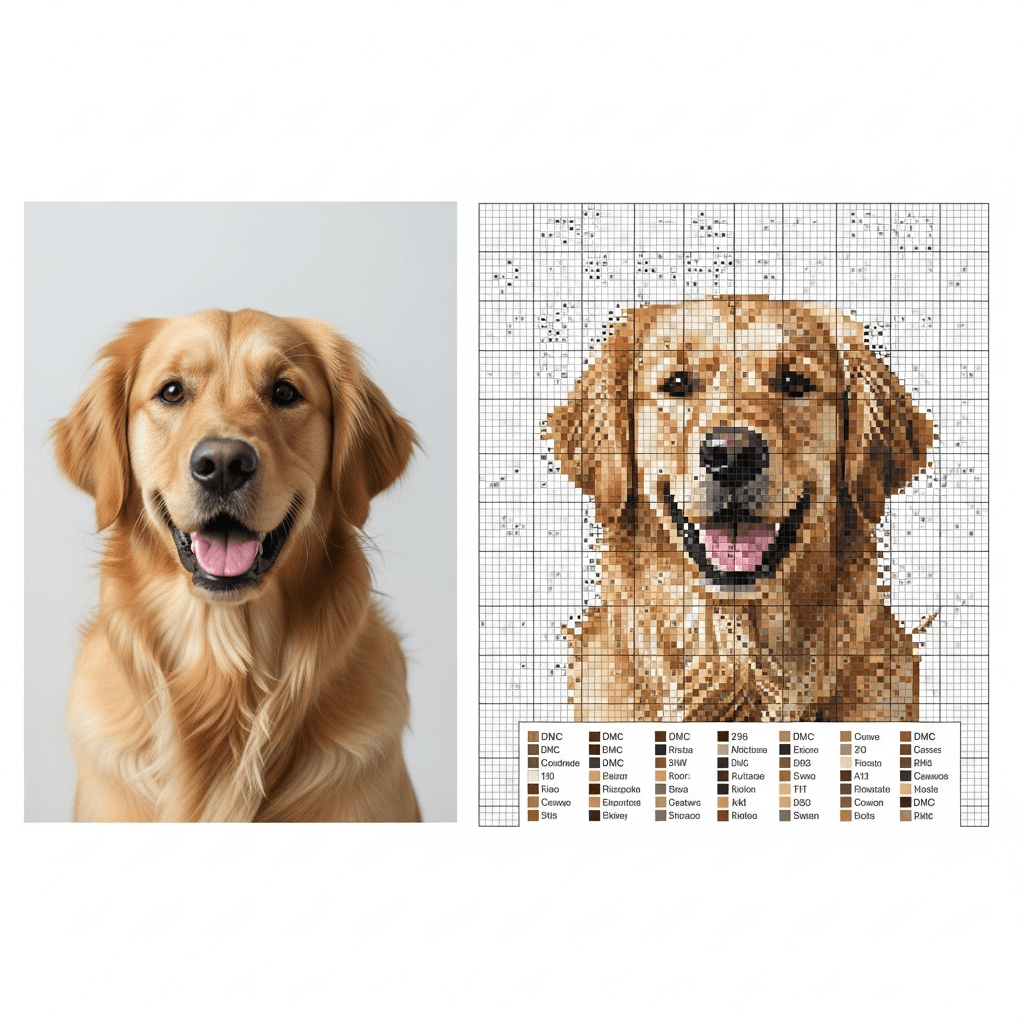
If you are generating a pattern from a photo or drawing it from scratch, set the wall size first and then back into the stitch count. That is the better workflow. How to turn a photo into a cross stitch pattern walks through the chart setup side of that. StitchLark is built for the same approach: pick the finished size you actually want, then tune the chart before you export it.
How much extra fabric do you need for framing?
Thread-Bare recommends leaving at least 3 additional inches on each edge for mounting a framed cross stitch. In plain English, add 6 inches to the stitched width and 6 inches to the stitched height when you buy fabric.
Here is the second cheat sheet people actually need:
| Stitched area | Fabric cut size to buy |
|---|---|
| 5 x 7 in | 11 x 13 in |
| 8 x 10 in | 14 x 16 in |
| 11 x 14 in | 17 x 20 in |
| 16 x 20 in | 22 x 26 in |
That margin gives you room to center the piece, lace or pin it to backing board, and fix small alignment mistakes without panicking. Could you get away with less? Sometimes. I would not plan around "sometimes."
If you already bought the fabric and it is tight, measure before you stitch another row. A design that technically fits the cloth can still be miserable to mount if you only left an inch or two around the edges.
Should cross stitch touch the glass?
I would avoid it when you can.
In a recent r/CrossStitch framing discussion, the most practical advice was consistent: mount the piece properly, and use a mat or spacers if the stitches would touch the glass. That lines up with what framers recommend too. Cross stitch has texture. Flattening it against glass throws that texture away.
For a quick finish, here is the order I would use:
- small gift or ornament: frame it directly if the stitches are not being crushed
- medium piece you care about: mat or spacers
- heirloom piece or anything large: professional framing or at least a custom-cut mat
This is also why 8 x 10 and 11 x 14 are such useful target sizes. They are easy to find, easy to mat, and big enough to look intentional without becoming a framing project of their own.
When should you use a custom frame?
Use a custom frame when the piece is doing something a stock frame cannot handle cleanly.
That usually means:
- a long narrow sampler
- a square finish that does not match common square frames
- a piece with a lot of fabric you want to show around the stitched area
- an heirloom project that deserves better materials than a cheap ready-made frame
But a lot of stitchers jump to custom framing too early. A surprising number of projects can be nudged into standard sizes just by choosing the fabric count more carefully. If your draft is close to 8 x 10 on 16-count but lands at 9.1 x 11.4 on 14-count, the easier fix is often switching fabric count before you start, not budgeting for a custom frame after you finish.
Pick the frame size you want on the wall this week. Then set your chart to match it. If you want the safest, least-annoying options, start with 8 x 10 or 11 x 14 stitched area, leave 3 inches of fabric on every side, and build from there. If you are converting a photo, use the size table above before you export the chart so the framing is solved while the pattern is still easy to change.